Pummelling Through Slime
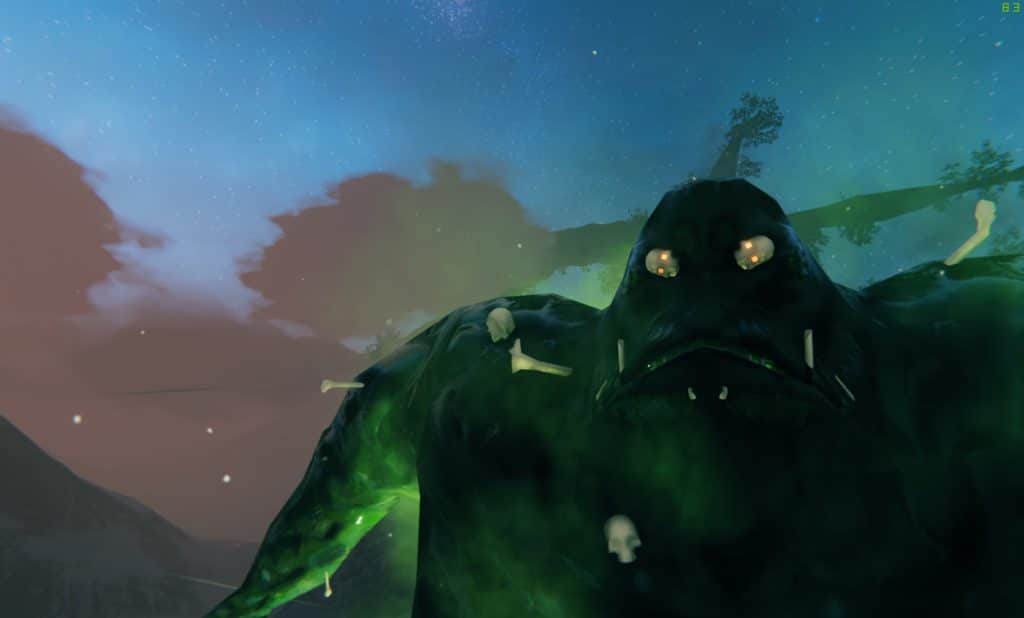
Bonemass is the third boss encounter in the world of Valheim, and for many, the hardest, even surpassing that of Moder and Yagluth in terms of difficulty. Picking the right weapon for this encounter is crucial.
Why is Bonemass so difficult?
First off, it spews poisonous gas, and if affected, it alone can easily chunk your entire health bar in one go if you come unprepared. On top of that, it spawns Skeletons and Skeleton Archers, as well as Blobs, which in turn also emits poisonous gas.
It should also be noted that the boss encounter itself takes place in the swamps where the ground is uneven, and while kiting, or simply running for your life, it’s easy to fall into the trap of walking into water that is too deep; forcing you to swim, which in turn sheats your weapon, and slow you down.
There will also be Draugr’s and Scorchling’s in the area that might be drawn to the fight if you are unlucky, making for even more monsters to fend off against.
So, how to reign victorious against Bonemass?
In this guide, we will give you the very best tips and tricks we have to offer to ensure your success in beating this challenging, yet endearing boss encounter.
Step 1 – Obtaining the resources needed to spawn Bonemass
The first step in fighting Bonemass is acquiring x10 Withered Bones, which is necessary to summon the boss itself on its altar.
These can mainly be found in Sunken Crypts in the Swamps, either laying around inside the Crypts themselves, or obtained while mining for iron, in Muddy Scrap Piles.
Step 2 – Finding Bonemass’ altar and spawn location
If you, or your group that you play with, are lucky, you might just randomly stumble across Bonemass’ altar. If not, you will need to search Sunken Crypts until you find its Vegvisir, which will mark Bonemass’ location on your map.
Considering you should come prepared with gear crafted of iron for this encounter, that is unless you are either crazy skilled, or just crazy in general – you will most likely stumble across the Vegvisir while hauling iron from the Crypts.
Step 3 – Come prepared
As mentioned in the previous step, you want to come prepared in terms of armor and weaponry.
Bonemass is weak to blunt and frost damage, while being resistant to both piercing and slashing damage. This means that most weapons, as well as most arrows, will be futile against it. Luckily, there are exceptions.
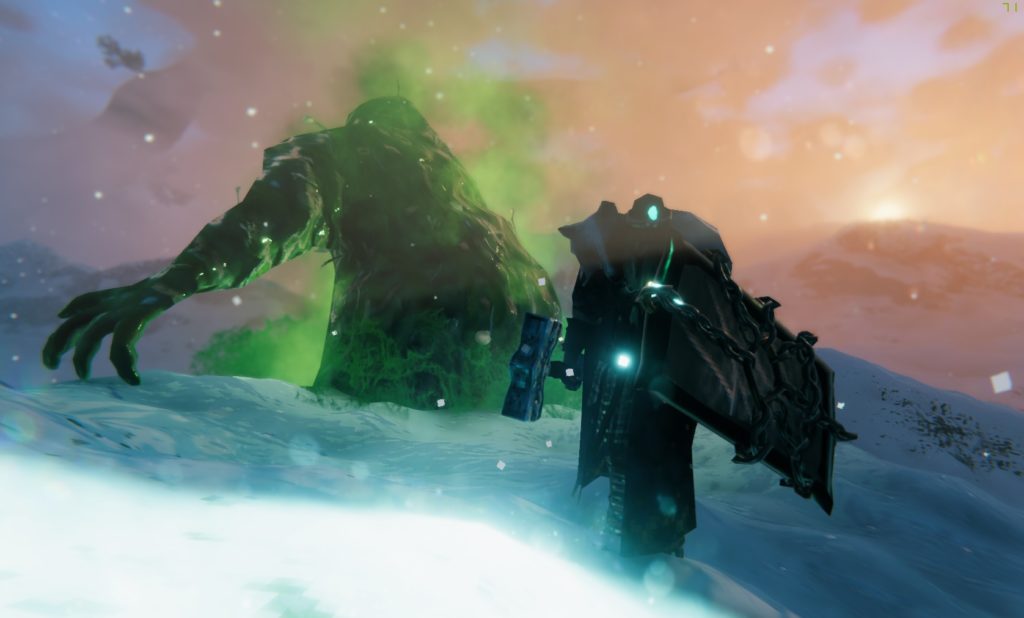
Our recommendation is to bring some sort of blunt weapon, the very best option being a Frostner if you have gotten your hands on one. Why? It boasts both blunt and frost damage, both of which Bonemass is weak against, as well as added spirit damage to top it all off.

If you plan on fighting Bonemass in a group, it might be an idea for at least one in the group to bring either a Stagbreaker or an Iron Sledge as these weapons can help control any surrounding monsters with relative ease.
Cheesing the encounter
With this being said, the possibly best weapon to bring, as well as safest per se, is going to be a bow and frost arrows.
This heavily depends on what bow you have, and the likelihood of you having frost arrows at this stage is rather slim, but definitely both plausible and possible. But if you do, bring them! They will make this boss encounter a breeze.
Step 4 – Potions and food
Good food is always a must, and the better the food, the better you come prepared; something that applies to any encounter, including Bonemass.
Healing potions etc. are also greatly beneficial. But the one supplement that tends to be crucial in this boss encounter, is Poison Resistance potions.
You can certainly kill Bonemass without them, but considering how cheap and easily accessible they are – you should definitely bring a few.
These potions will drastically reduce any poison damage you take, which in turn means you are protected against both Bonemass’ attacks, as well as the Blobs’ attacks, all being poison.
Step 5 – Building a temporary base
The chances of dying during a Bonemass boss encounter are fairly high, especially if it’s your first time encountering it.
Bring enough materials, or gather them while in the Swamp, and build yourself a temporary base near the summoning altar.
It should not be too close, as it can potentially be attacked by Bonemass itself, or other monsters. We recommend you build it in an elevated location, like in a tree, if possible. If not, near the ocean shore is also a suitable location. It doesn’t have to be far away at all, but a fair bit away is recommended.
Step 6 – Flatten the area
This is a trick I picked up on from a friend whom I played with, and it involves pre-flattening the area around the altar with a hoe before summoning Bonemass.
It doesn’t have to be perfect, but if you can make sure there are as few watery holes as possible, it will drastically change the fight.
These watery holes can be deep enough to force you to swim if you accidentally run into them, slowing you down and potentially being the end of you, as well as being infested with leeches.
So bring a hoe, and try to flatten the ground a fair bit before summoning the boss.

Step 7 – Clear any monsters in the area
It is recommended that you, or your group, clear out as many of the monsters in the surrounding area as possible, to prevent them from intervening during the boss fight itself.
Naturally, monsters can respawn during the encounter, but this significantly lowers the odds of interference.
Step 8 – Bonemass’ attack patterns
Bonemass has three different attacks; learning and recognizing these will be immensely beneficial to you.
Attack #1:
Bonemass will swipe its right hand in front of itself, at you, dealing heavy damage, and poisoning you. This attack is slow and predictable, making it fairly easy to dodge.
Attack #2:
Occasionally Bonemass will tear pieces of itself and hurl it nearby, spawning Blobs, Skeletons, and Skeleton Archers.
Be especially wary of the Blobs, as these will also poison you.
Skeleton Archers can also be worth eliminating as quickly as possible, as they can easily land unsuspecting arrows at you.
It should be noted that this animation is long and you won’t get hurt by the hurl itself, making room for some easy damage on the boss.
Attack #3:
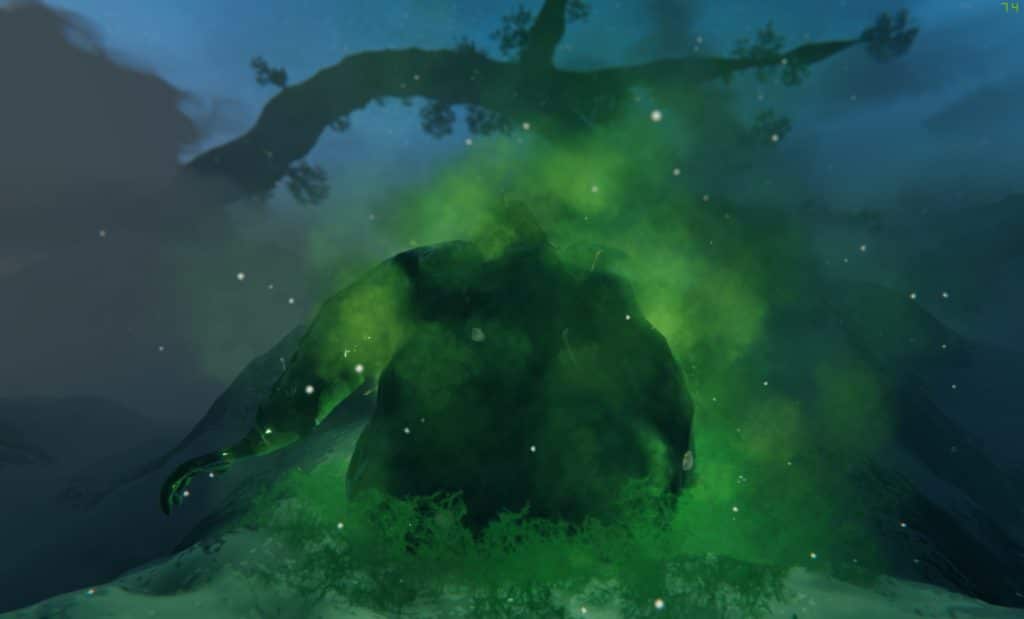
This is possibly the scariest and most deadly attack in Bonemass’ arsenal, as Bonemass rocks itself back and forth, and spews a poisonous gas all around itself.
It’s easy to get over-confident and go in for a swing if you are using melee, something you will quickly learn to regret, as this poison does a lot of damage, even if you are using Poison Resistance potions. Be wary and vigilant!

With all this being said, I encourage you not to be afraid of this encounter.
It’s definitely a challenging encounter for any first-timer, but after beating all the bosses several times over, Bonemass is hands down the most endearing and fun encounter I’ve faced in Valheim, as it challenges your attention, patience, and level of greed.
Personally, I recently beat Bonemass using only a knife; the Abyssal Razor, a full set of troll armor, very primitive food, no boss-trophy buff, and absolutely no potions – including no usage of the Poison Resistance potion.
The challenging boss encounter took quite some time, like a ridiculous amount of time, but I decided to make a video and upload the final stage of the fight, linked below.
Why do I encourage you to watch this video?
Simple. It shows all of Bonemass’ attacks, and how I chose to avoid them, as well as a general idea of strategy and tactics in terms of placement and movement during the Bonemass fight.
Hopefully, you can improve on my tactics, and beat Bonemass with an even better approach.
Good luck!

